Enough with day hikes; you’re ready for the big leagues. You’re ready for your first overnight hike and want to know what to pack. What backpacking gear do you need to have?

BACKPACKING GEAR TABLE OF CONTENTS
My first backpacking trip
I remember the first time I ever went backpacking. Well, the first two times. I guess it depends on which time you count as my first. Technically, my first backpacking trip was in Guatemala. Why am I sharing my first two trips here with you? Because I really want to reiterate the importance of having the proper backpacking gear. Once upon a time….
My roommate was volunteering at a school nearby and the people she worked with asked if she and friends would like to do an overnight trip hiking Acatenango, one of the highest peaks in Guatemala. It is a dormant volcano that sits right next to an active one, Fuego, that you can observe spewing lava at night (pretty cool, right?). I was intrigued by the idea- I had frankly never even been camping before, but I was all sorts of adventurous Lizzie on my 2013 trip to Guatemala.

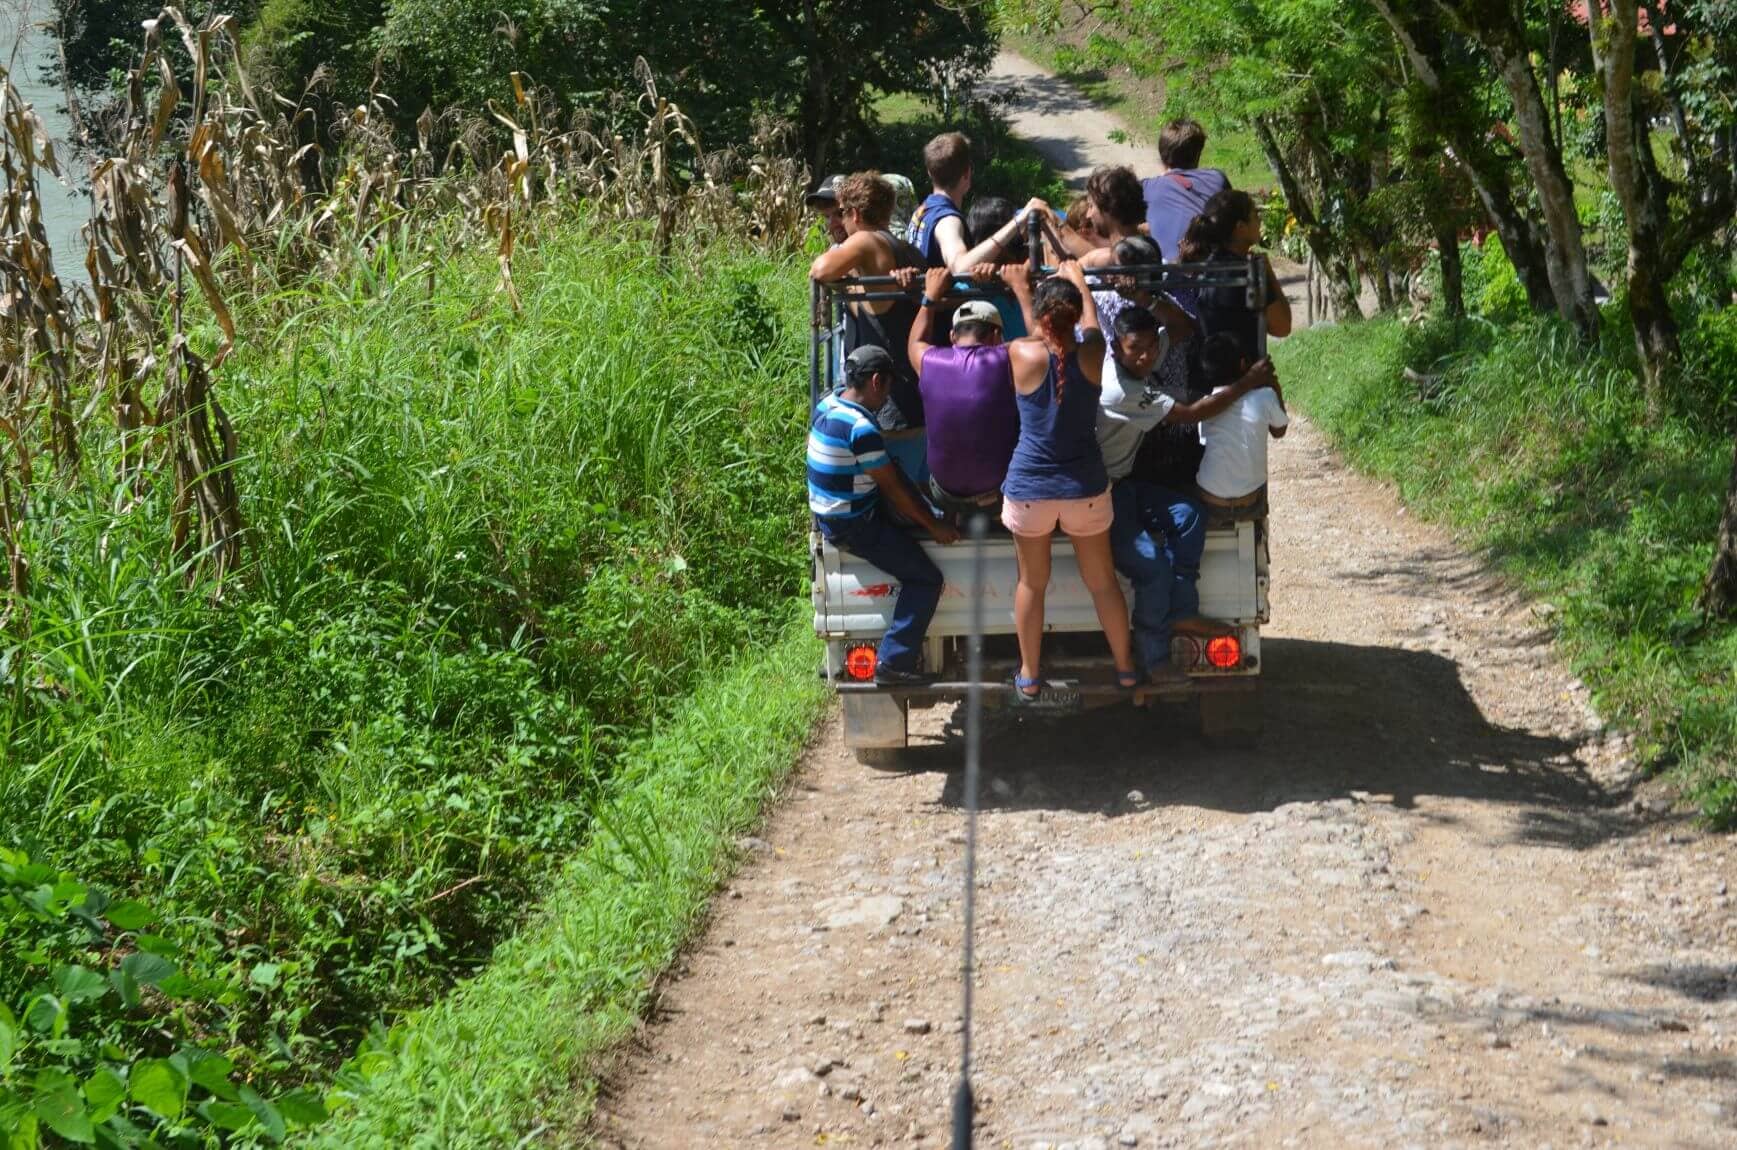 Ever ridden in a truck like this? Yeah, didn’t think so..
I had just graduated college and was on my first trip out of the country SOLO and I was having the time of my life. I was learning Spanish; I was visiting mayan ruins, turquoise pools of water, hiking volcanos, and buying the cheapest produce I had ever seen. I even had my first motorcycle ride there. I was free, free to be a new me, free to try new things.
And well, this seemed like another adventure that couldn’t be missed. We were told that they would provide the food, tents, and sleeping bag. We just needed to carry our layers and water. Acatenango can get cold at night despite Guatemala being a tropical country so we set off to the local “pacas” (flea market) and bought some used winter clothes with no idea how to properly dress for a backpacking trip (especially in the cold).
When we arrived, my spidey senses said that it was going to be too cloudy and the weather may not be good, but I was reassured that Guatemala weather changes constantly and it would clear up and I would get my epic sunset/sunrise view that was promised. Should have listened to me. ::Laughs::
Well, let me not spend too much time on this story. If you want the full story and review of Acatenango, click here!
For now, I’ll just say that I thought I might die that night. We hung tarps as our “shelter,” we had children’s sleeping bags for sleeping in, we “slept” on a slant and we never saw a sunrise or sunset. The air that day was so dense, all of our gear got wet and it took us over an hour to get a fire going. Needless to say, I nearly melted a hole in my tennis shoes that night trying to stay warm.

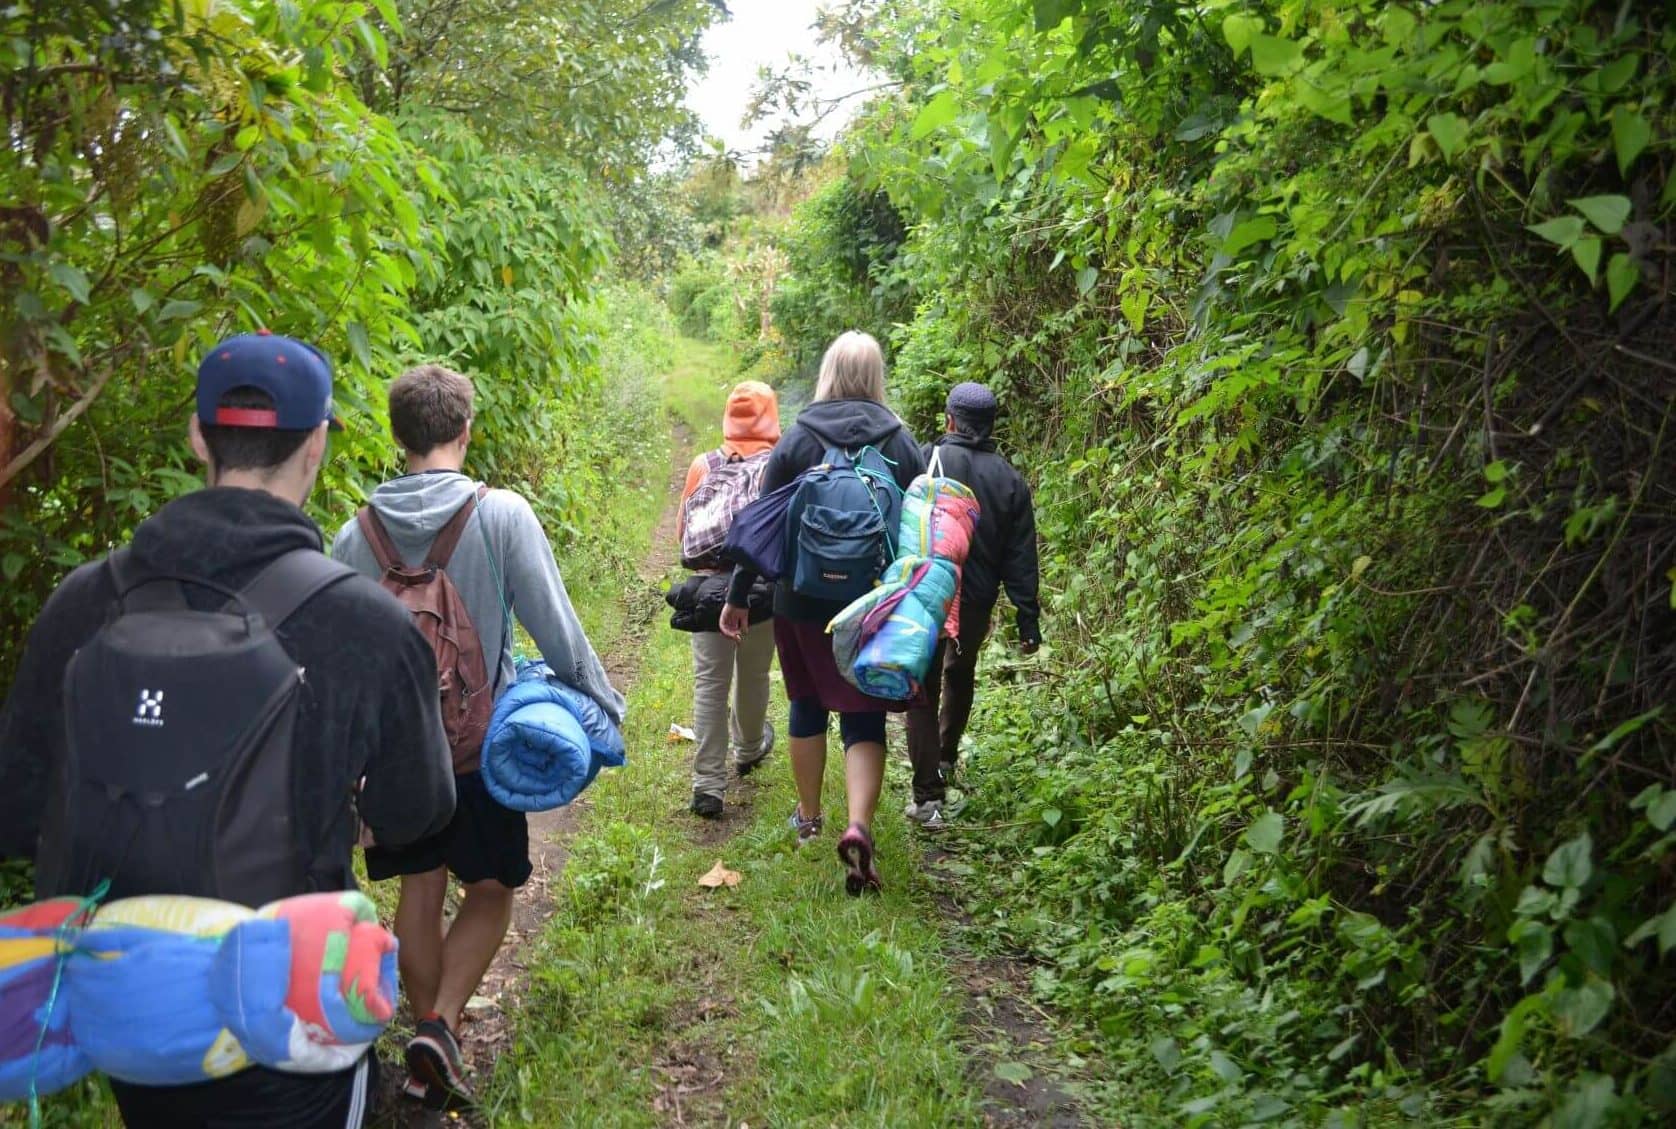 Check out those awesome school backpacks and thin sleeping bags
I sometimes forget to count that trip because we literally carried school backpacks, thrift store clothes, real food, and gallon jugs of water. Not exactly what most people reading this probably have in mind when they think of a backpacking trip and as you can see, not exactly fun. This is why it’s super important to have the right backpacking gear for your adventure. (Back to Top)
My second backpacking trip
It’s amazing that I ever wanted to try camping or backpacking again! The second time I went was more prepared. We did some research and consulted REI and opted for an actual backpack meant for backpacking, a backpacking tent, 30 degree mummy bags, sleeping pads, and cooking gear. However, since it was such an investment, we opted out of the proper clothes.
We did bring layers, but at the time we were not educated on wool vs. cotton vs. polyester vs. blends or the value of having items you could condense to smaller sizes. I filled a 70 liter backpack (usually meant for week+ long excursions) for a one night trip. Must have been at least 40 pounds. We didn’t weigh. It was cold. My layers were not good enough.

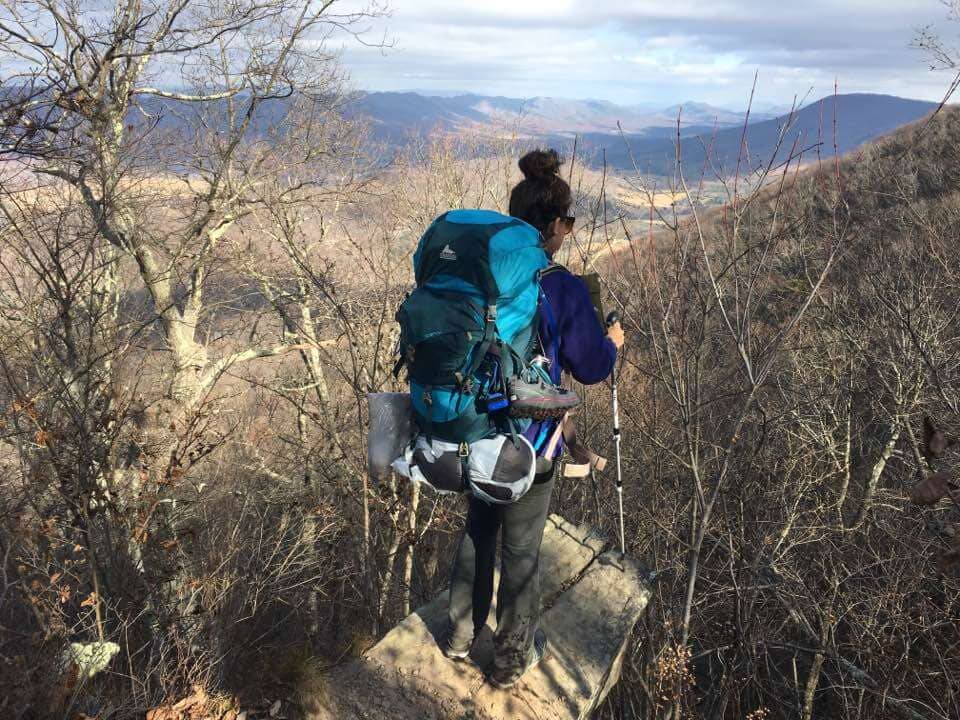 Check out my awesome 70L overflowing backpack. You do NOT need this much stuff for an overnighter.
I ended up not really sleeping, freezing my buns off, and hiking out with a nice IT-band injury. My boyfriend of the time didn’t believe that backpacking was for me (or maybe just watching me hobble out was just not for him), but I somehow still wanted to go again. I chalked it up to a learning experience and decided I just needed different gear.
So my friends, the right backpacking gear can literally make or break your backpacking experience. I wanted to share these stories so that you know how important it is to have the right backpacking gear, but also that backpacking trips are not always perfect. They are not always fun. Of course we do what we can to prepare and have the most fun, but you are outside in the elements. Unpredictable things happen; you need to be aware of that before going. I just hope that one bad trip doesn’t ruin it for you in the future because backpacking is really an unforgettable experience. (Back to Top)
List of Backpacking Gear
Having the right backpacking gear and being fully prepared for a backpacking trip requires some trial and error. Be willing to give it that trial and error phase and be willing to make mistakes. Mistakes are how you learn for next time.
In terms of gear however, I will make your job easier by telling you what backpacking gear you need here:
For the most part, this list is basically the same as what you need for a day hike after #6. The only difference after that is you will need a bigger backpack and since you’ll be out longer, you will have to adjust the amount and type of food, how much water, and probably what kind of clothing layers you are bringing. You can refer to the day hike essentials post to get longer information on each of those sections. (Back to Top)
Backpacking tent & footprint
What is the difference between this and a regular camping tent you can pick up for $30 at Walmart? Weight and durability. I promise you, you don’t want to carry a 5 lb tent and you don’t want to be in one of those tents in a storm. A backpacking tent is built for all kinds of weather. A three-season is good for every season except winter (honestly, it’s okay in some milder climate areas) and a four-season is good for winter, but these run a little heavier. For now, I don’t do much camping below 32 degrees so I own a three season tent.

You most likely want to buy for one more person than you have. My nemo hornet is a 2 person tent (though I look at it and wonder how that’s even possible) and only I sleep in it. Backpacking tents run a little small, so in case you want to keep your gear in the tent with you (you do, except for food), you will want to buy one size bigger than the number of people you’ll be going with.
What’s a footprint? A tent footprint is basically an additional layer of material that you place between your tent and the ground in order to protect it from moisture soaking through during a storm or for an extra layer of protection from scratchy sticks and rocks (although you should try to clear the area from anything potentially harmful to your tent before setting up).
It adds minimal weight and costs only a little extra and can be the make or break difference if set up properly for you in a rainstorm. Mine attaches to my tent, so I just attached it once and store it with my tent. You can search for one that is built for your tent, or you can make your own out of plastic, vinyl or tyvec or use a tarp.
Sleeping bag & liner
Another one of those Walmart vs. actual sleeping bag situations. Weight, bulk, and durability is the reason you want a backpacking bag vs. a roll up Coleman from Walmart. Coleman is actually a well-trusted brand, but these are much better suited for car camping.
However, I will say that there are certain situations where you could get away with a Coleman to start with. If your first backpacking trip is in the summer, for example, and you’re not hiking very far or it’s pretty flat, you can probably afford to compromise and carry a little more if money is a big issue for you right now. With experience however, you will see that you will want to upgrade to better backpacking gear.
My bag is a Nemo Disco spoon bag. I can’t sleep in the typical mummy-style sleeping bags that are common for backpacking, but the square bags create more weight and bulk. I was excited to find this spoon bag that allows extra room for the knees and elbows, a much better option for stomach sleepers and sprawlers like me. Mummy bags are too hard to move in (but great if you’re a back sleeper who doesn’t move much! They weigh less and pack down even smaller than mine).

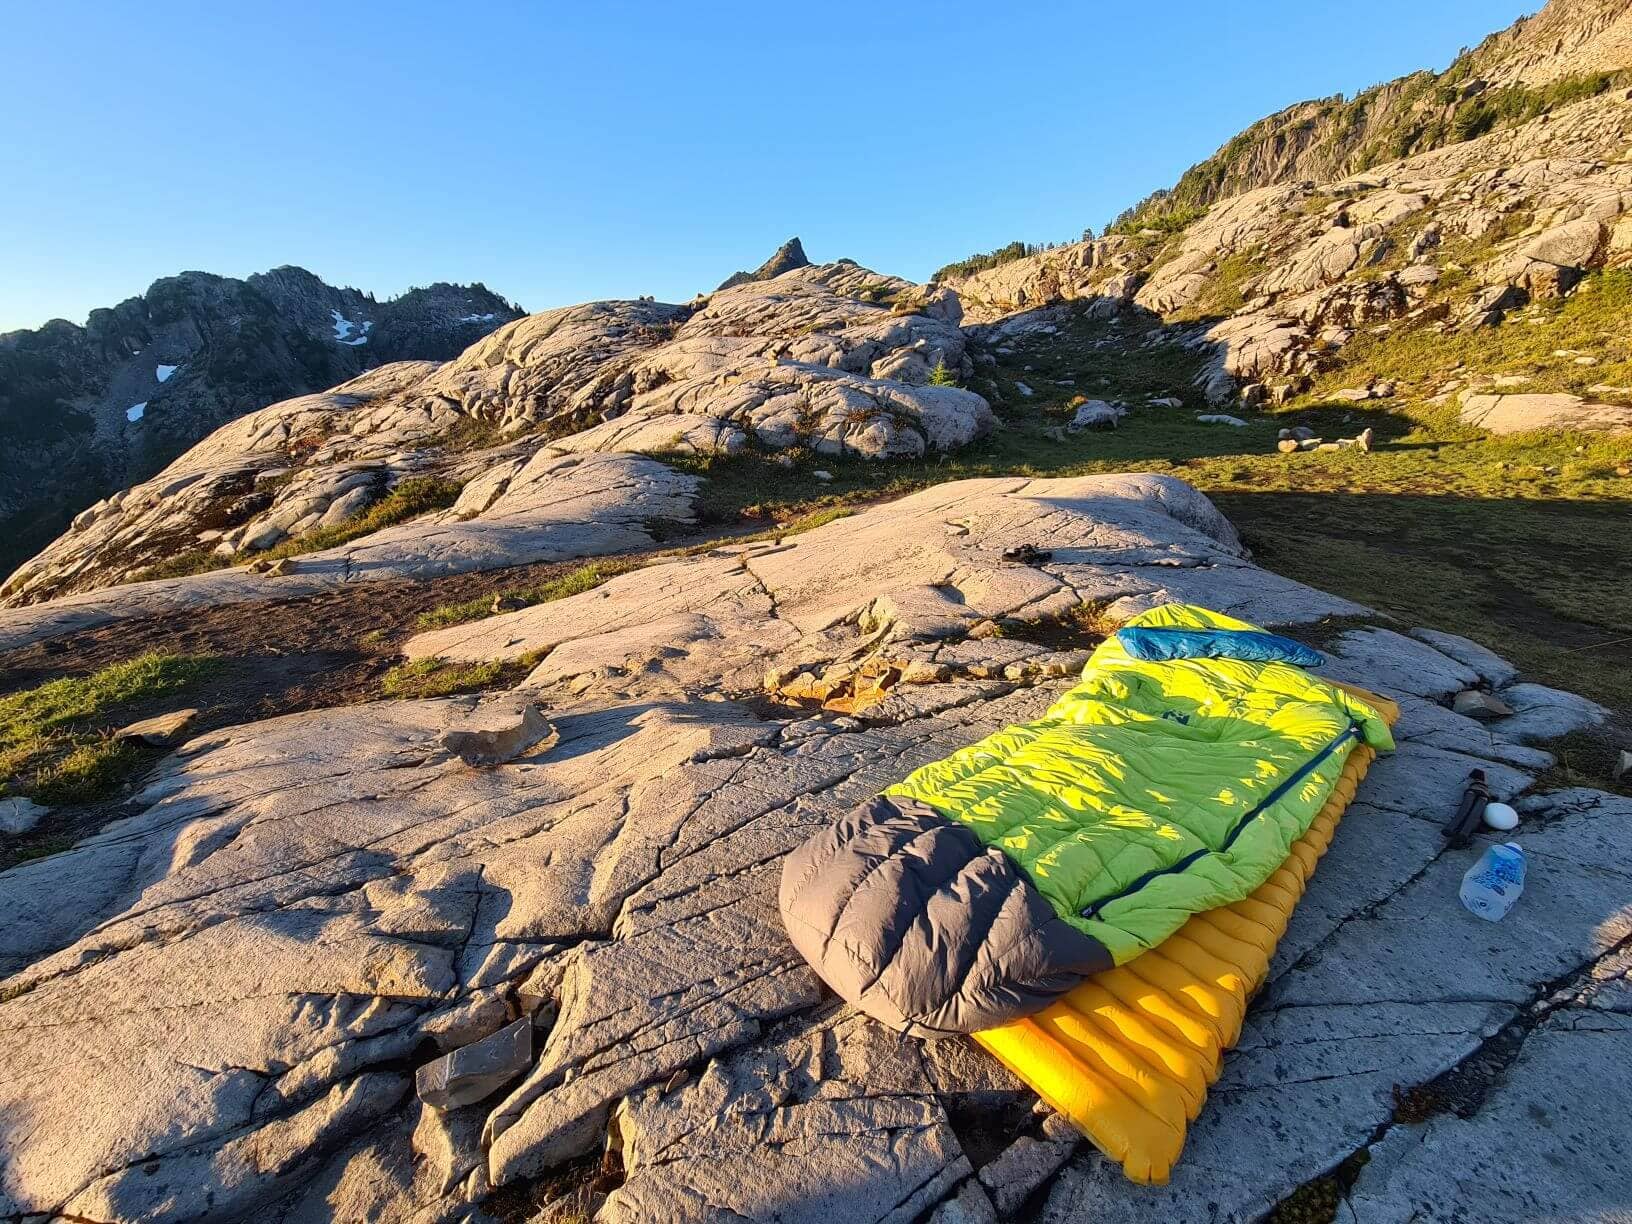 My Nemo Disco Spoon Bag on top of Tensor25 Pad
The reason you want a sleeping bag liner is because it’s not good to wash your sleeping bag all the time. A liner helps protect your sleeping bag and is easily washable. It can also add extra warmth like my liner does. (Back to Top) (Back to List)
Sleeping pad
This is another trial and error thing, kind of like mattress shopping. You need a good pad and there’s a huge assortment of sleeping pads in existence. There’s self-inflating, insulated, non-insulated, foam… And there’s different varieties in length and width as well. Sleep is something you don’t want to compromise on so this is somewhere where a few extra ounces is worth it if it makes a dramatic difference in how well you sleep.
This is why I love shopping at REI. They have a year long return policy so if you find that something is not working for you, you’re not out $200. You can simply return and get a different pad (or whatever gear) until you find one that suits your needs.
I actually originally bought a Klymit Luxe because at the time it was the only affordable wide pad I could find. 30 inches wide, I sleep so good on it, but it was a hefty 2.3 lbs and I needed to cut back on my weight. It was also extra long, which I don’t need because I’m average height. When Nemo came out with the tensor25 regular wide, I was sold. This one is not extra long, but is still wide (25 inches as opposed to the usual 20” of most pads) and weighs a pound less than my Klymit.
You’re allowed to be Goldilocks here. Find the pad that is just right. (Back to Top) (Back to List)
Bear bag/cannister
This really depends on where you are planning to go backpacking. As a general rule of thumb, it’s always good to hang your bag, but there are some places where it’s not a big deal if you don’t, as long as it’s at least 200 feet away from your campsite. This is something you need to check with the local ranger before your trip and part of the planning process. You can call a local ranger by finding out what forest or state park your hike will be located in and googling that district + the words “ranger phone number”. If you’re wrong, the ranger on the phone will likely direct you to the right one to call.
Technically, you can just hang a trash bag of food, but I think it’s worth the investment to at least buy a critter bag. This is what I own and has been good to me so far on my trips. When bears are not a problem, this is my go-to food bag. I line it with an odor-proof bag as well for extra protection. This company also makes bear bags, but I find them to be a bit heavy if not necessary.
Some parks are going to require bear canisters depending on the bear population and their comfort with human beings. These are going to add weight to your pack, but are important for areas like this. Put some brightly colored duct tape on yours so you can find it at night with your head lamp or if a bear plays with it and it ends up somewhere else in the morning.
In other places, you will have bear vaults on the trail in which case you just have to leave all of your scented items in that for the night. I love these! Less weight for me. 🙂 (Back to Top) (Back to List)
Cooking Gear
Unless you’re planning to eat all prepackaged cold foods, you’re going to need to something to cook your dinner (and sometimes breakfast or coffee) with. You will need a lightweight cooking stove, eating utensils, pot, and fuel. There are several different types of stoves available, which I may discuss in an upcoming blog post, but I most prefer a gas stove. I think they are the most controllable in terms of cooking temperature, as well as durable when you have to cook in the elements.

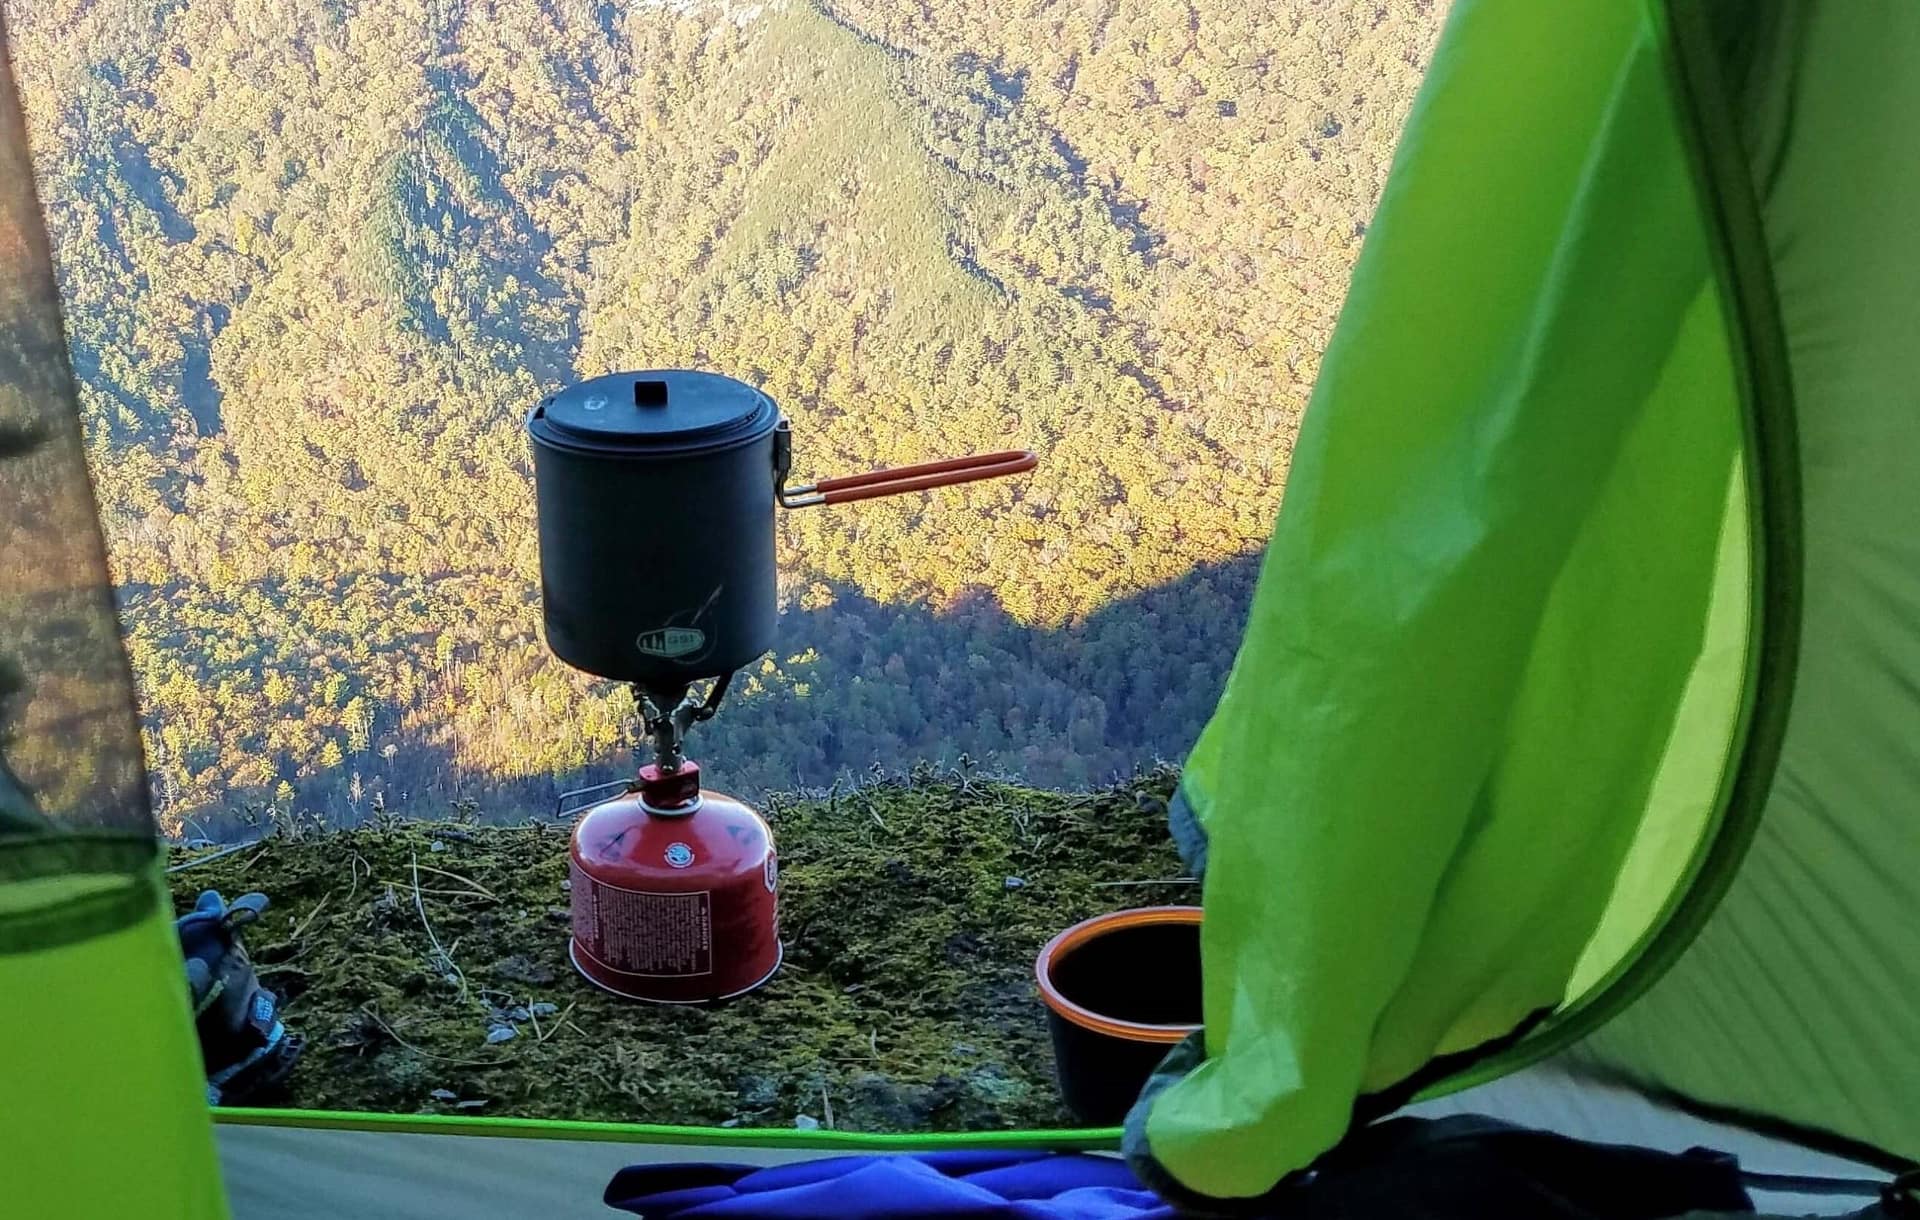 Nothing like cooking breakfast with a view like this!
I use an MSR pocket rocket, which has been rated one of the lightest weight stoves available. It has to be on perfectly flat ground or your pot may go flying, but this is pretty standard for any tiny stove. This pairs with a little mini gas canister you can get at your local outdoors store (and sometimes walmart) or amazon. (Personally, Amazon looks a bit expensive here. Should only be around $5 per can)
For my pot, I have the GSI soloist (no longer sold, but this is similar) that I am happy with, but there are lighter options available. Consider how much water you may need to boil at a time for your dinner meal kits or oatmeal and go from there.
Obviously, you need a utensil to eat with. Lightweight, multi-use and durability is key here. For the most part, most of your food will only need a spoon or fork, which is why there are a lot of options for multi-use tools out there. I found this cute little thing on amazon for a plastic-free challenge I did a few years ago that I ended up using for my backpacking trips. It’s really not the lightest, but it’s not heavy and I just love that it comes in a little zipper pouch. Before that, I was using this spork, but I just liked the idea of having all utensils (including chopsticks!) (Back to Top) (Back to List)
Emergency Gear
I am planning to make a list of what you should bring in an emergency kit which you can read about in an upcoming post, but for now I will mention the ones I consider the most important for beginner backpackers.
First of all, you need a headlamp. If you’re backpacking, you will be in the dark. This is a must! It’s considered emergency gear for a day hike, but a necessity on a backpacking trip. Don’t forget to bring extra batteries!
Other emergency gear is like first aid, you don’t think you need it until you need it and my experience has been proof of that. I always carry an emergency sleeping bag, a knife, fire starter (dryer lint and vaseline will do just fine) and para-cord. I’ve honestly had no use for them yet on the 16 or so backpacking trips I have done, but I have not been in a lot of areas where hanging a bear bag was required (para-cord) and I just haven’t been in a situation where I needed the emergency sleeping bag.
I’ve used the knife on occasion to help me open up food packets, but can get away without. However, I would always recommend having it than not! It’s a great multi-purpose tool for helping you open food, a weapon if needed, and survival if you end up in an emergency situation. I think on most shorter trips that this won’t be entirely necessary, but when you start getting into 4 nights, week-long, month-long backpacking trips, you’ll find these a lot more necessary. Just like first aid, always bring them.
For a full list of emergency gear, stay tuned for an upcoming blog post.
Moving on…
I touched on the rest of these quite a bit in my post about 10 day hike essentials so I won’t go into great detail here, but I do highly suggest reading that post as well for a little more elaboration on each subject. (Back to Top) (Back to List)
Water
Water, water water. You always need water. I elaborated on this in my day hike essentials blogpost, as well as my post that was all water. These posts will explain why it’s important and how much you need, as well as touch on a few different ways of carrying water.
I am currently using my Playtpus EVO 3L bladder, which I bought after my camelback 2L because I felt like I had to refill the 2L way too many times on my backpacking trip on the Art Loeb Trail.
Water is something you’ll have to research as well. If your trail is going to have a lot of water sources, you don’t have to carry as much water, but you have to consider that you will have to stop and filter water more often. Some trails don’t have water so you’ll have to carry in a lot!
Some of my friends prefer bottles. I like a bladder and will review my Platypus in an upcoming post.

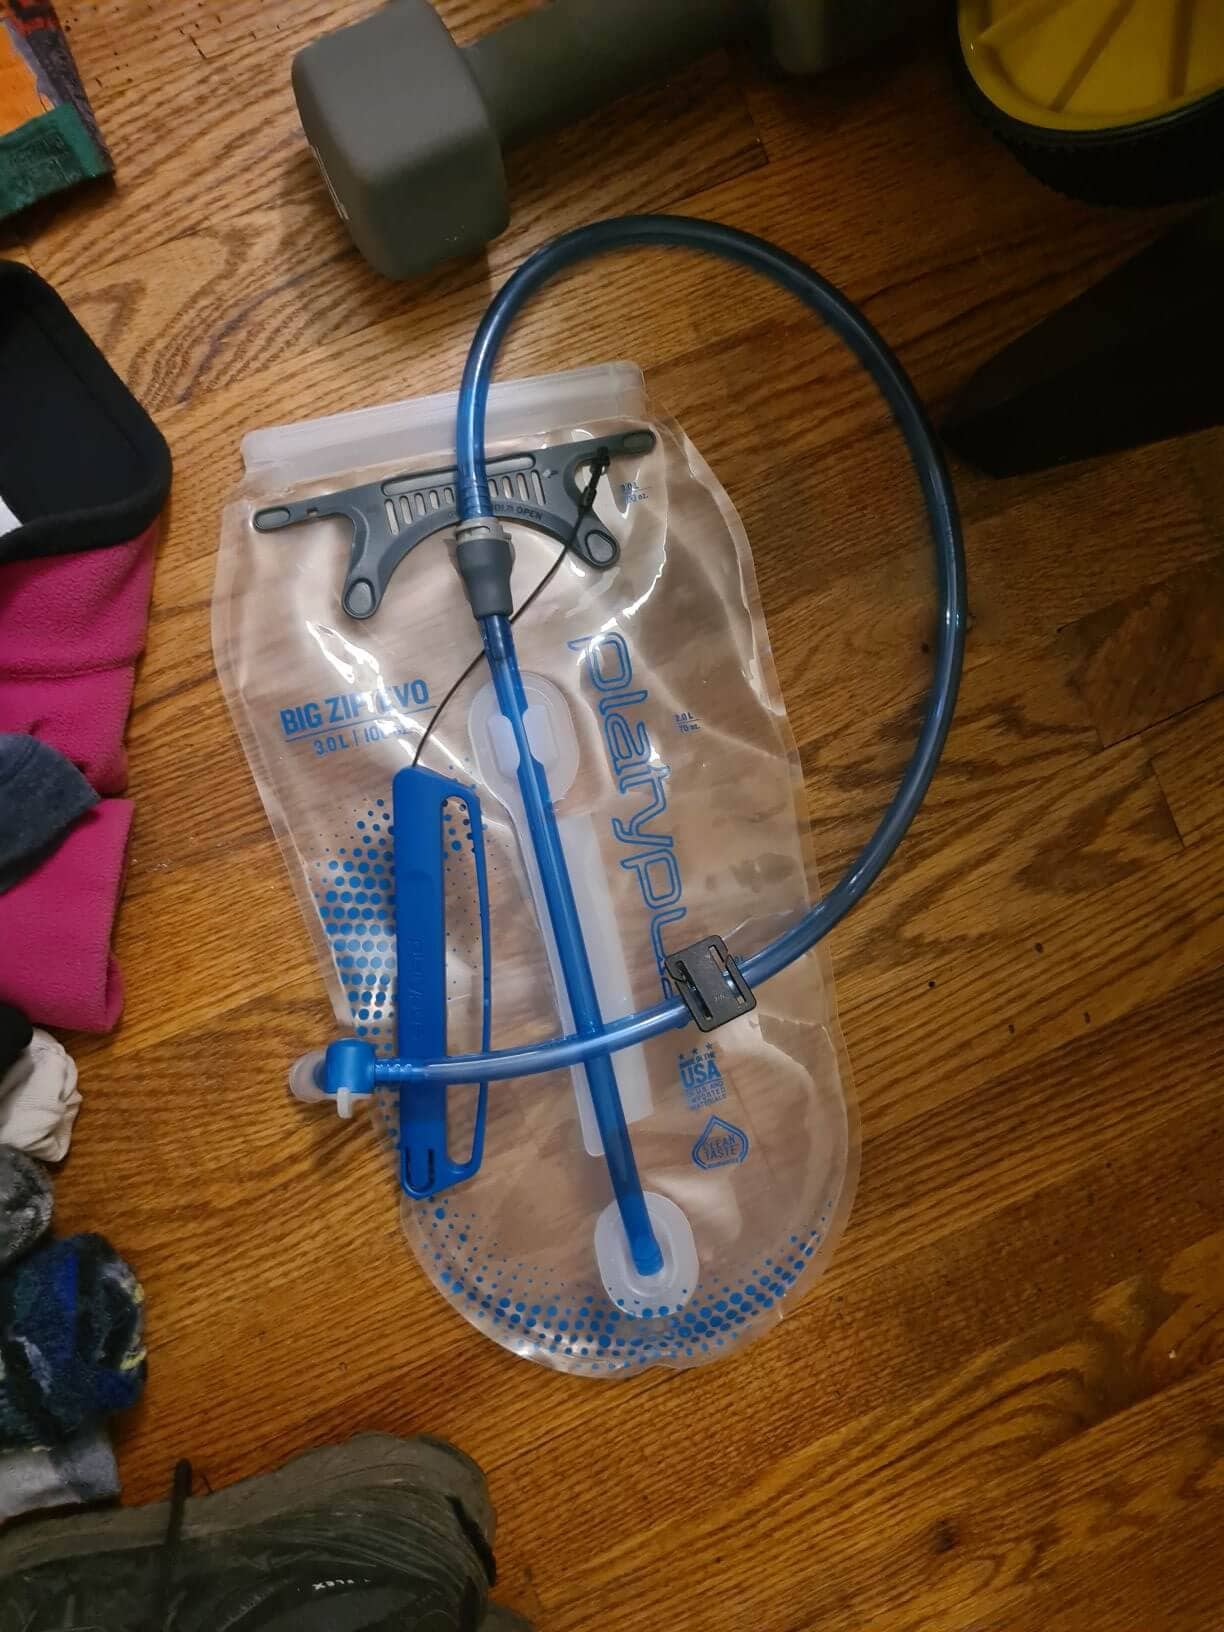 My Platypus EVO
If you’re not planning to carry in all the water you will need, a filter is also necessary. Generally speaking, a filter is enough, but for some water sources you may also need purification tablets. I will elaborate on this in an another upcoming post. I have not yet had to use purification tablets and I am happy with my Katadyn Be Free filter because it is really fast and easy to use.
I will do a more extensive review of it in an another blog post. (Back to Top) (Back to List)
Map/GPS
This is equally if not more important for a backpacking trip than for a day hike. With backpacking, you’re even more likely to get far away from civilization and phone service. I mentioned in my day hike essentials post that I like the app GAIA for my maps and I just download the route on my phone before I go and make sure I have an extra battery pack. You can carry a paper map as a back up. Some other useful map apps for your phone would be All Trails and View Ranger. There are also other GPS options available like satellite GPS, but I am not educated on these yet and therefore cannot give you my opinion. (Back to Top) (Back to List)
Backpacking pack
Obviously, you need something to carry all your gear in. These packs are built to carry a lot of weight and not break your body. It’s important to find the right pack for you. I personally own a Quechua Forclaz 50L… and a Gregory Deva 70L. (Both of these links go to updated versions, mine are no longer sold). I’ve never been able to pack smaller than a 50L, but there are some people who do backpacking with 40L bags. You need to be fitted (check out your local REI or other outdoor store) as well because they come in different sizes for different body types and weights. (Back to Top) (Back to List)

Food & Trash Bags
This was also discussed in the 10 Day Hike Essentials post where I elaborated on some food examples. The difference with backpacking is you also want to consider the weight and bulk of the food. Calories are extra important here because you are going to be burning a lot of calories carrying all that weight on your back.
For dinners, a lot of people like to use dehydrated food because it’s lightweight and you can just boil water and make a nice hot meal. Oatmeal is a great breakfast, tuna packets (not cans) and beef jerky and things like that for lunch. For more info, stay tuned for an upcoming post about backpacking food ideas. I personally have some food restrictions so I tend to make a lot of my own food for trips. I will make a separate post in the future for making your own backpacking food.
With backpacking, you also want to make sure all your food and scented goods can fit in your bear bag or canister and as always, leave no trace. Pack out all your trash! I usually bring multiple grocery bags on my trips for unexpected messes, food trash, and a separate one for toilet paper. (Back to Top) (Back to List)
Bathroom Kit
You also need a bathroom kit. I mentioned this in my 10 Day Hike Essentials post, but I will repeat myself here because it’s still important, if not more important for backpacking. I said above that you should NOT leave your toilet paper in the woods, so I always bring grocery bags and ziplocs in my kit to pack out my trash. I also bring wipes, hand sanitizer and my trowel. Trowels are for digging holes if you have to go number 2! Yes, you don’t get to poop on top of the ground like the animals do. Check out my Leave No Trace post to learn why. In one of your ziplocs, you will throw away your used toilet paper. In a grocery bag or another ziploc, you keep your trash bag, trowel, toilet paper, wipes, and hand sanitizer together. Boom, organized.
If you don’t bring it and you only have to go number 1 the whole hike, you can always use a leaf. Be careful to make sure it’s not a leaf that will give you a rash. But if you have to go number 2? You’re a SOL my friend, Hope you can hold it in. Better to bring the kit and have it! 🙂 Because as part of Leave No Trace principles, you will be doing a disservice to everyone by leaving your  on the ground. Don’t know how to properly dispose of waste in nature? Go here. (Go to Top) (Back to List)
First Aid Kit
For every hike you need a first aid kit. I think this is even more important to bring backpacking than on a day hike. You are putting in more miles with more weight on your back. I mentioned the importance of this in 10 day hike essentials as well, but I will reiterate here. On backpacking trips is where I usually end up needing my KT-tape the most. You also may be waiting longer before you are able to get medical help so you need to be prepared.
If you want to know what to bring in a first aid kit, be sure to check out this post here. Make sure you also bring prevention like sunscreen and bug spray because the last thing you want to deal with is sunburned shoulders and carrying 40 pounds on your back. (Back to Top) (Back to List)
Camera
Okay, it’s not ACTUALLY necessary, but you’re definitely going to want memories of your trip. I don’t suggest carrying a real camera here because of the weight, but having a good phone is a great option for taking pictures because it’s lightweight and it doubles as your map and gps. I have a samsung galaxy s20 and I love the quality of photos that it takes. (Back to Top) (Back to List)
Good Shoes & Socks
There’s a lot of argument over what a good shoe for a backpacking trip is. You will find that a lot of people suggest hiking boots here that protect your ankle from rolling (and this is somewhere where I usually wear my Altra boots as opposed to my trail runners), however I have also found that some people still prefer hiking in their trail runners.
I started using my trail runners for summer hikes and my boots for winter hikes because they are a bit warmer. I prefer to wear my boots as little as possible because I learned that every pound of weight on your foot is like 10 pounds on your back. That being said, I circle back to what I said before about protecting your ankles. It is a personal preference. You need to know your body and figure out what’s best for you, including which brand is the best fit for you.
My feet are on the wider side, so I love Altra’s wide toe-box. They look a little funny, but for me they are maximum comfort. Some people do not like them and prefer another brand such as Keen or Salomon. I suggest visiting a local REI for a shoe fitting.
Read my day hike essentials post for more info. You need to pay attention to the weather and the conditions of your hike. I wear compression socks when I can, but I also like to layer with smart wool socks when it’s cold. Smartwool also makes great hiking socks for warm weather as well. Adding a layer of sock liners can help you with blister prevention. (Back to Top) (Back to List)
Appropriate Layers
Like I mentioned in 10 day hike essentials, you need to find out the weather for your hike and make sure you have layers, layers layers!! Even in the summer in some areas, the elevation can still make it cold. I can’t tell you exactly what to bring because I am not in your body and I don’t know the weather of the hike you are going on, but here are some ideas from me:
When it’s in the dead of summer and I am not going to be hiking anywhere with even a slight change of being cold or rainy, I bring dry fit shorts, a comfortable sweat-wicking sports bra and tank top, as well as sock liners and compression socks. I wear my altra trail runners for the hike and bring a generic pair of flip flops along to change into at camp.
If there’s even the slightest chance of rain or wind, add a rain jacket.
If it’s colder temperatures, I am going to have leggings (especially smartwool leggings!) instead of shorts, still wear a tank top and sports bra, but add a long sleeve smartwool shirt. I will also take along a puffy jacket and sometimes an extra fleece layer as well. If it’s going to be extremely cold, I will have a pair of winter pants, gloves, hat, etc.
When packing clothes, to each his own here, but I like to at least have one to two extra base layer and pair of socks to change into because you don’t want to wear sweaty clothes in the wind or cold. (Back to Top) (Back to List)
Optional fun and extra
Trekking poles. Should they be optional? I don’t know. Some blogs will consider this an essential. I’ve done multiple trips without my trekking pole (and I only have one) and have been fine and much preferred it that way. This is why I consider trekking poles optional. If you have a lot of trouble with your knees, this is a great option for you. I do find that they are very useful for stabilization when making river crossings and also when going downhill, they take a little extra pressure of the knees. Other than that, I find it much more convenient to hike without them. Of all of my hikes I’ve done, I used mine only in Washington and on my 23 mile hike a few months ago.

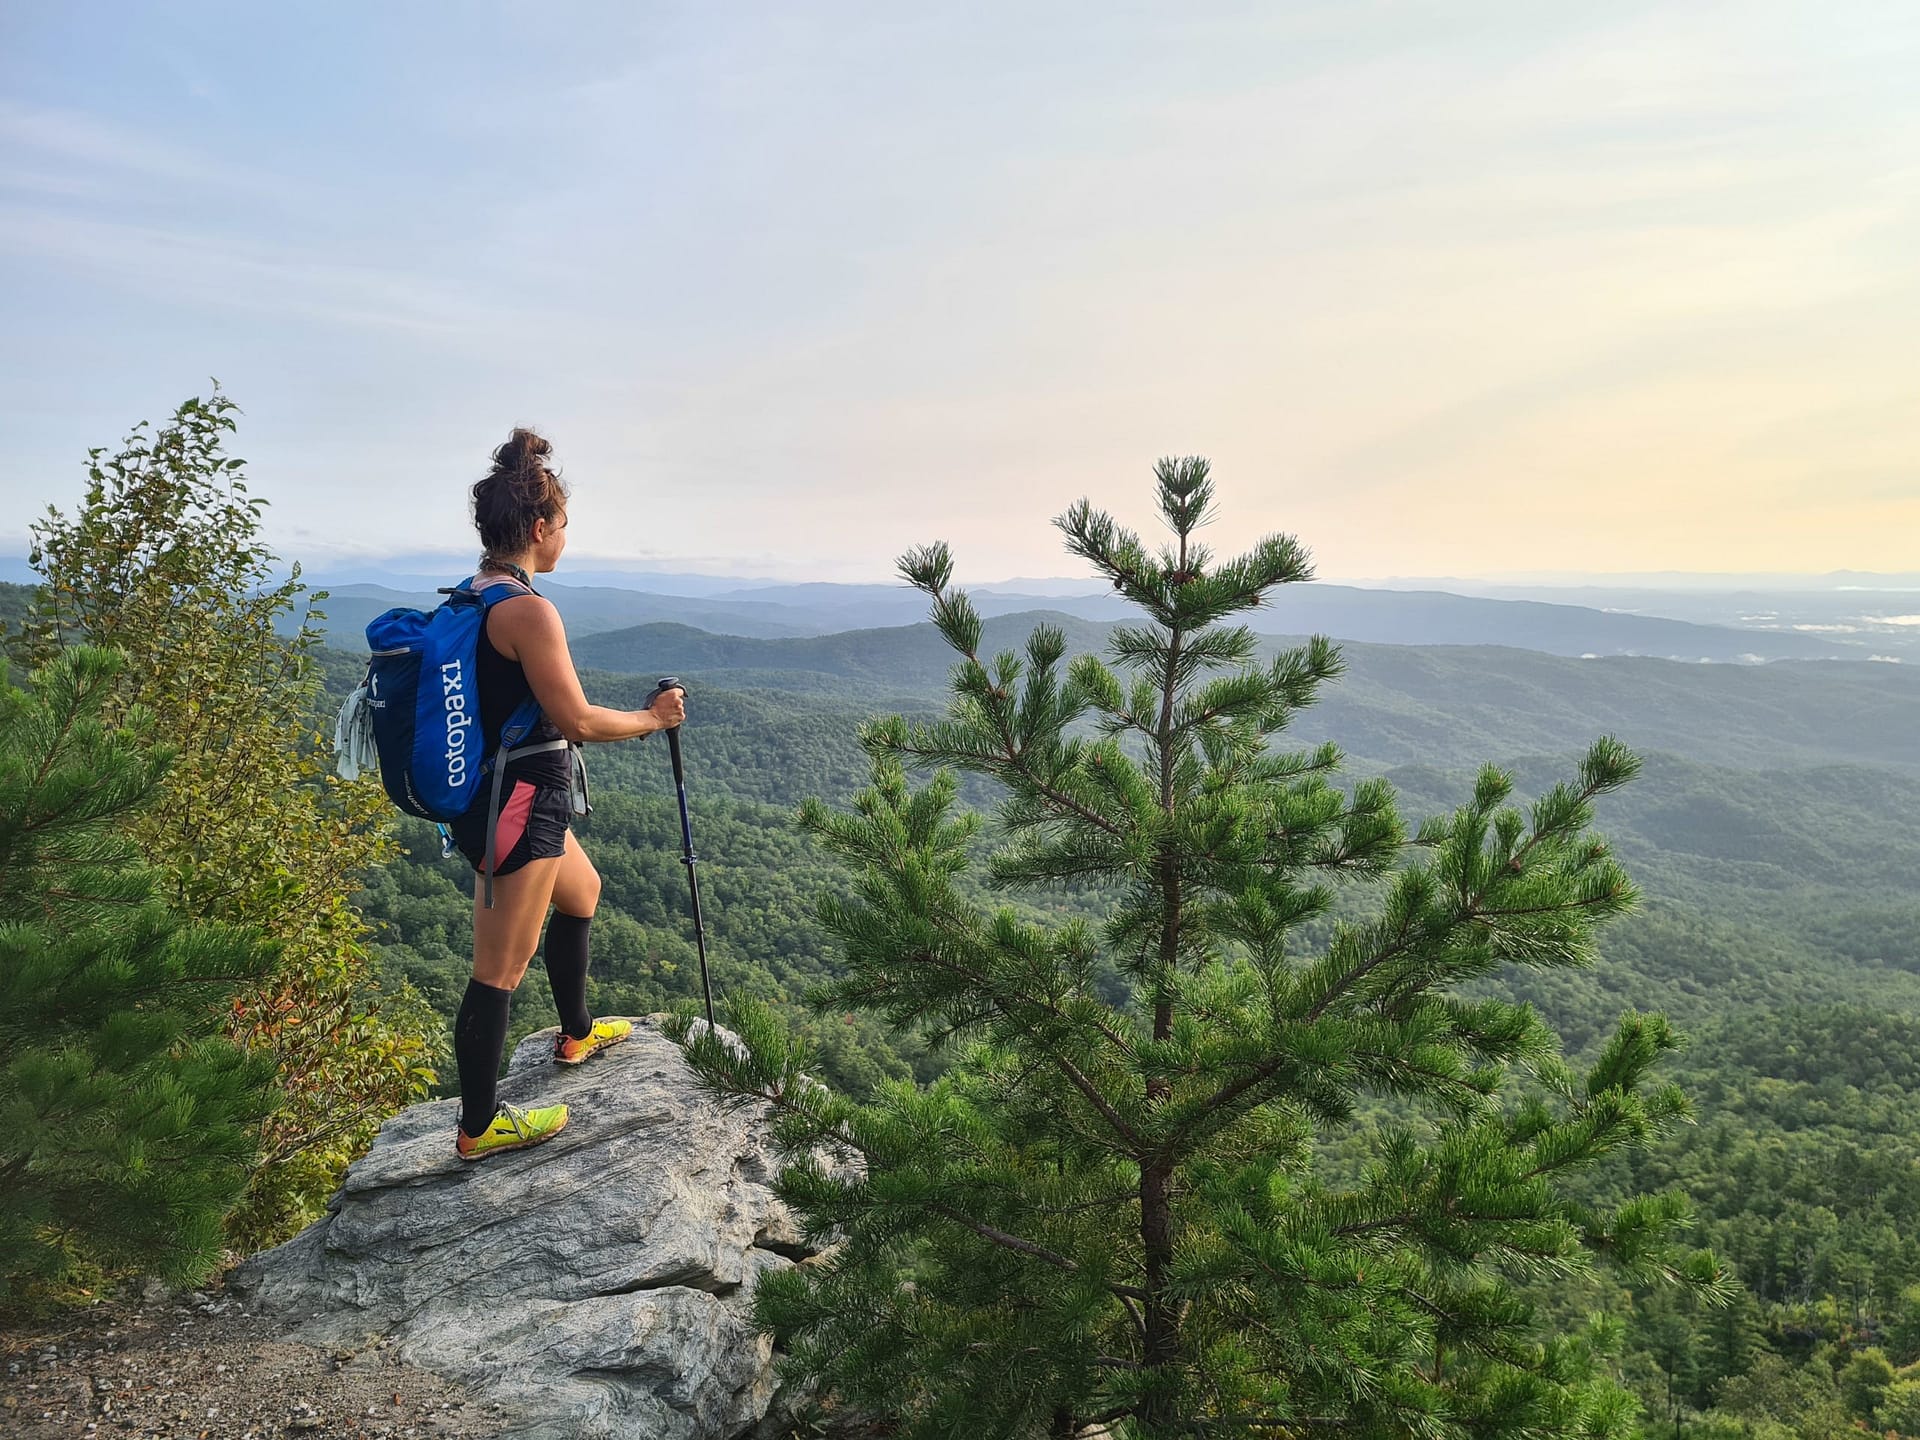 Spotted: Me with a trekking pole!
What about a foldable saw? I own one. Honestly, I stopped carrying it. It’s good if you need to saw some firewood, but I recently learned that if you can’t break it on your knee, you shouldn’t be using it anyways according to Leave No Trace principles. I have usually ended up too tired to build a fire by the time I get to camp backpacking and just want to cook my food on my stove and pass out or relax. This is why I consider this to be optional. Fire starter on the other hand, which would belong in your emergency kit, is a necessity.
Now let’s get into the optional fun stuff. Here is where you need to make a decision about what’s more important: the fun thing you’re bringing or the weight you are saving by not bringing it. I used to bring my hammock on backpacking trips, for example. I then discovered that by the time we hiked each day to our camp location, set up camp, ate dinner and cleaned up that I just never found the time to hammock.
I stopped carrying it unless we made a plan to have a more relaxed trip where we would have time to hang around at camp and hammock. Sometimes I bring a book to read, but I rarely get around to it.
This all depends on the purpose of your trip. If you’re only doing a few miles a day, you may want to bring some extra entertainment because the hiking won’t take up most of your day. You could bring a lightweight tripod for your camera phone, cards to play with your friends, heavier but more delicious food, a hammock, a folding seat, a flamingo hiking buddy…

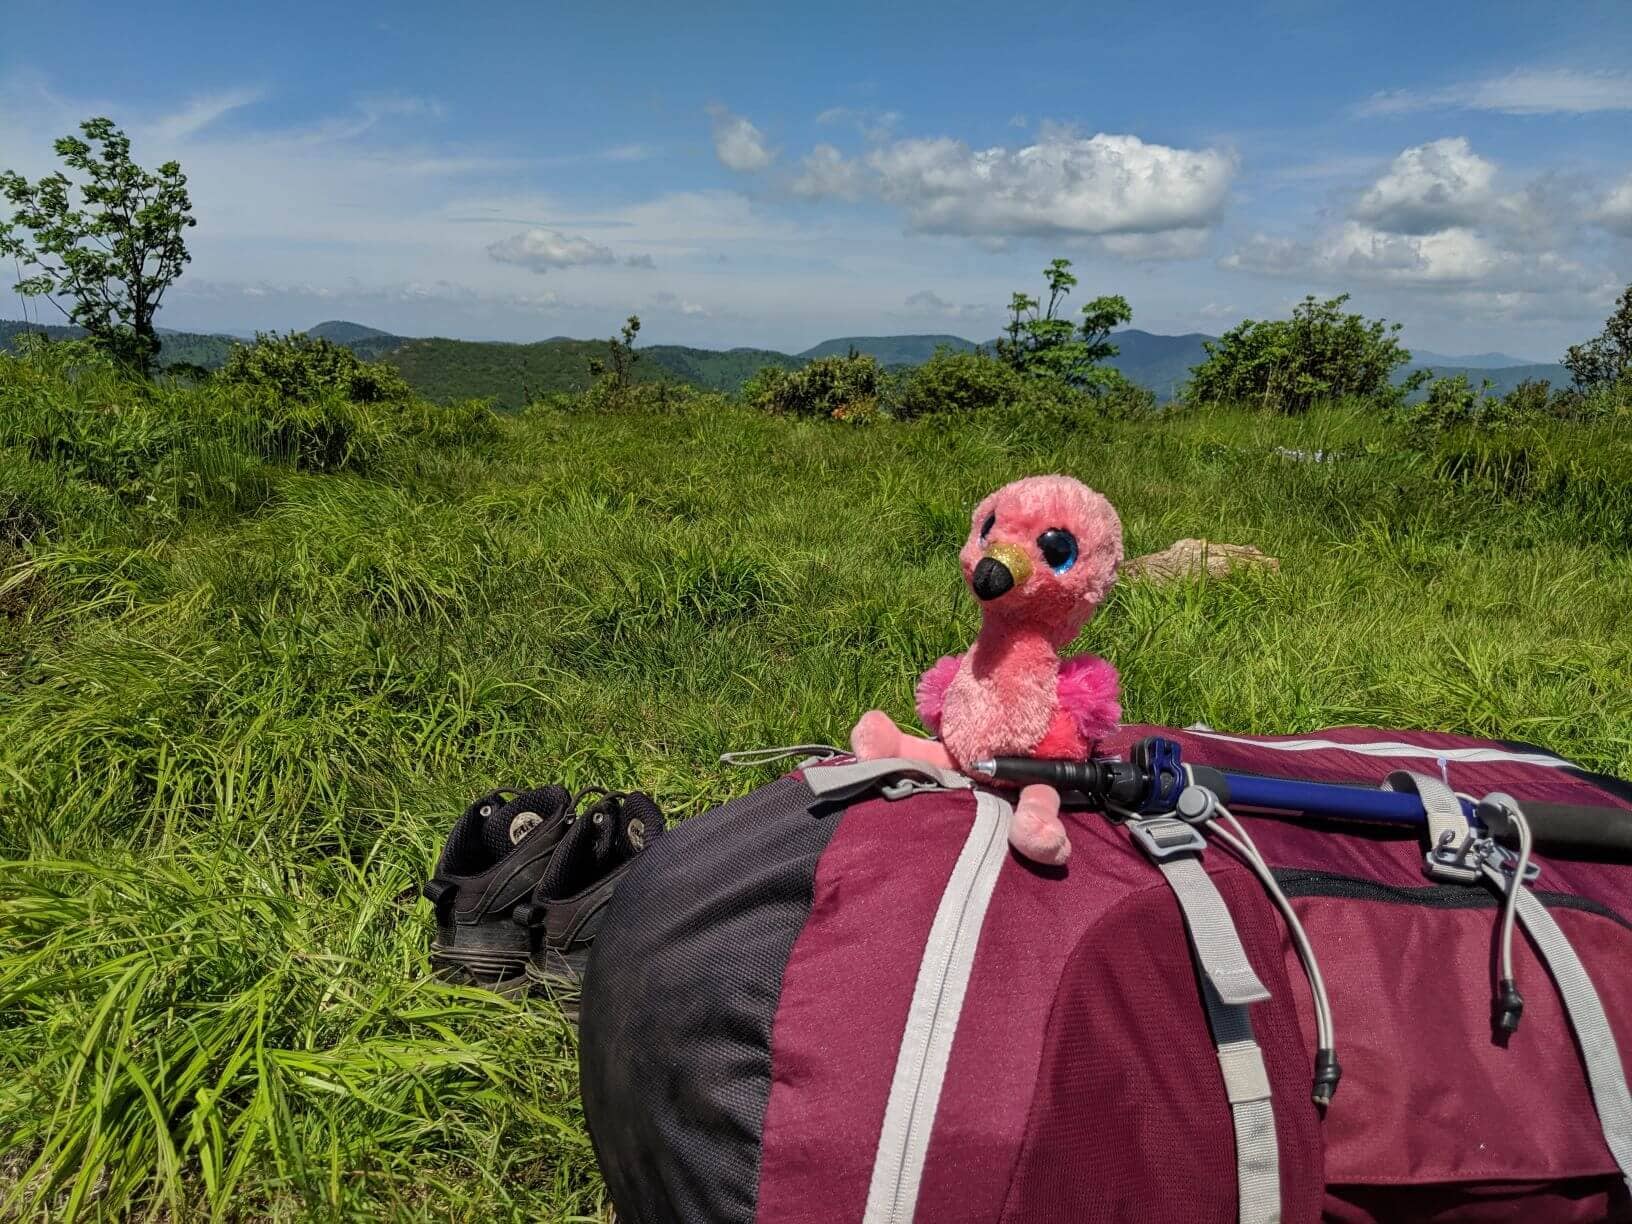
Hehe. The list is endless. Ultimately though, you want to aim to make the weight of your pack no more than 20% of your body weight.
That about covers what I believe to be backpacking gear must haves. I do recommend always doing your own research. I will never claim to be a know-it-all complete source of information so I do recommend getting multiple opinions and learning from those and taking from each one what works best for you.
If you have any questions, as always, feel free to post in the comments below or send me a personal message. (Back to Top) (Back to List)


Recent Comments